Introduction to Graveyard Dirt Cups
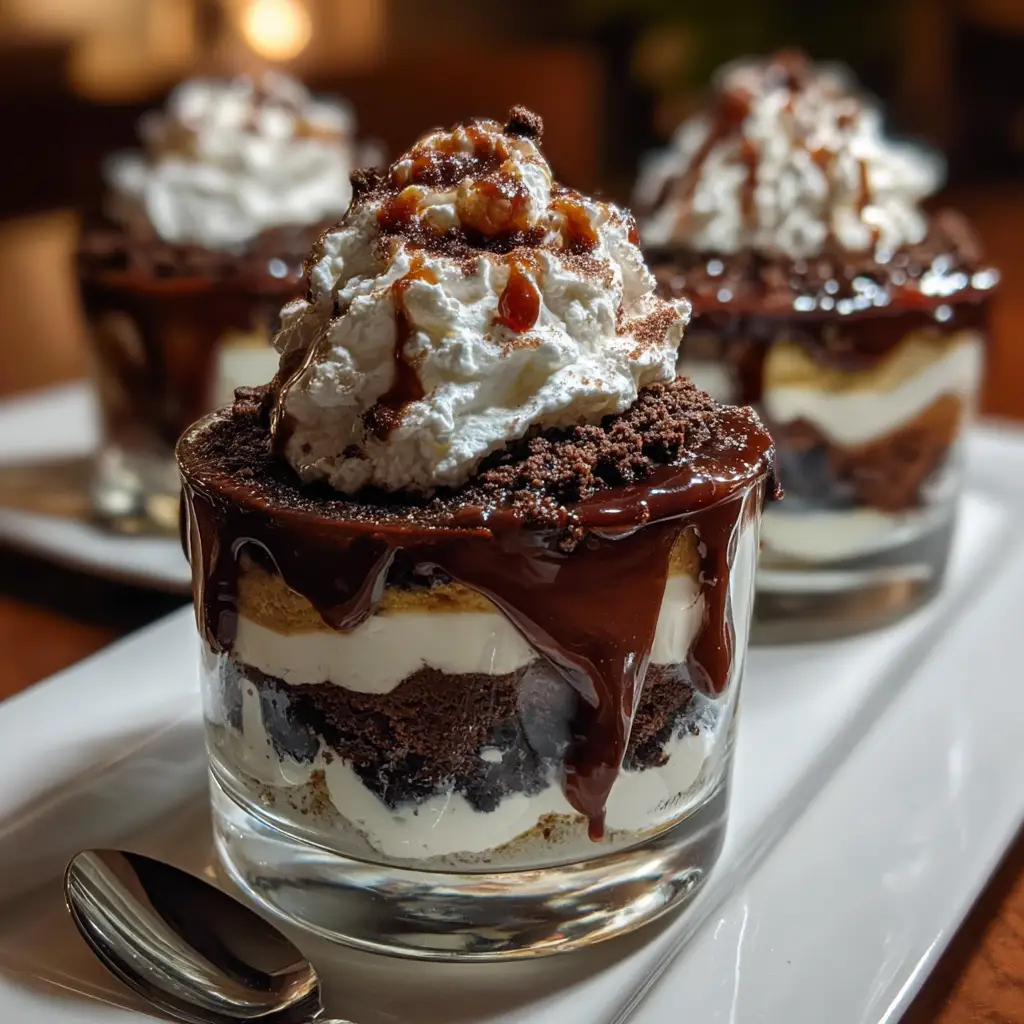
As the leaves turn and the air gets crisp, I find myself dreaming up spooky treats for Halloween. One of my all-time favorites is Graveyard Dirt Cups. These delightful desserts are not only fun to make, but they also bring a smile to everyone’s face. Perfect for busy moms like us, they require minimal effort and no baking! Just imagine the joy on your kids’ faces when they see these creepy cups filled with chocolate pudding and gummy worms. It’s a quick solution for a festive gathering or a sweet surprise after dinner!
Why You’ll Love This Graveyard Dirt Cups
Graveyard Dirt Cups are the ultimate treat for busy families. They come together in just 15 minutes, making them a breeze to whip up. The rich chocolate pudding paired with crunchy cookie crumbs creates a delightful texture that everyone loves. Plus, the gummy worms add a playful touch that kids adore. Whether it’s a Halloween party or a cozy family night, these cups are sure to impress without the stress!
Ingredients for Graveyard Dirt Cups
Creating these spooky Graveyard Dirt Cups is as simple as gathering a few key ingredients. Here’s what you’ll need:
- Chocolate pudding mix: This is the star of the show! It provides a rich, creamy base that mimics the look of dirt.
- Milk: Essential for preparing the pudding. You can use whole, low-fat, or even a non-dairy alternative like almond milk for a twist.
- Chocolate sandwich cookies: Think Oreos! These cookies are crushed to create the ‘dirt’ layer. You can also use gluten-free cookies if needed.
- Gummy worms: These add a fun, creepy element that kids love. Feel free to mix in other Halloween-themed candies for extra flair!
- Plastic cups: Perfect for serving. They allow everyone to see the layers, making the dessert even more enticing.
For exact quantities, check the bottom of the article where you can find a printable version. Now, let’s get ready to create some spooky magic in the kitchen!
How to Make Graveyard Dirt Cups
Making Graveyard Dirt Cups is a delightful adventure that’s as easy as pie! Follow these simple steps, and you’ll have a spooky dessert ready in no time. Let’s dive into the fun!
Step 1: Prepare the Chocolate Pudding
Start by preparing the chocolate pudding according to the package instructions. Typically, you’ll mix the pudding mix with milk in a bowl. Whisk it together until it’s smooth and creamy. For the best texture, make sure there are no lumps. Let it sit for a few minutes to thicken up. This will give you that rich, velvety pudding that makes these cups so irresistible!
Step 2: Crush the Cookies
Next, it’s time to crush those chocolate sandwich cookies! You can place them in a zip-top bag and use a rolling pin to smash them into fine crumbs. Alternatively, if you have a food processor, that works wonders too! Just pulse until they resemble dirt. The finer the crumbs, the better they’ll mimic the look of soil in your cups.
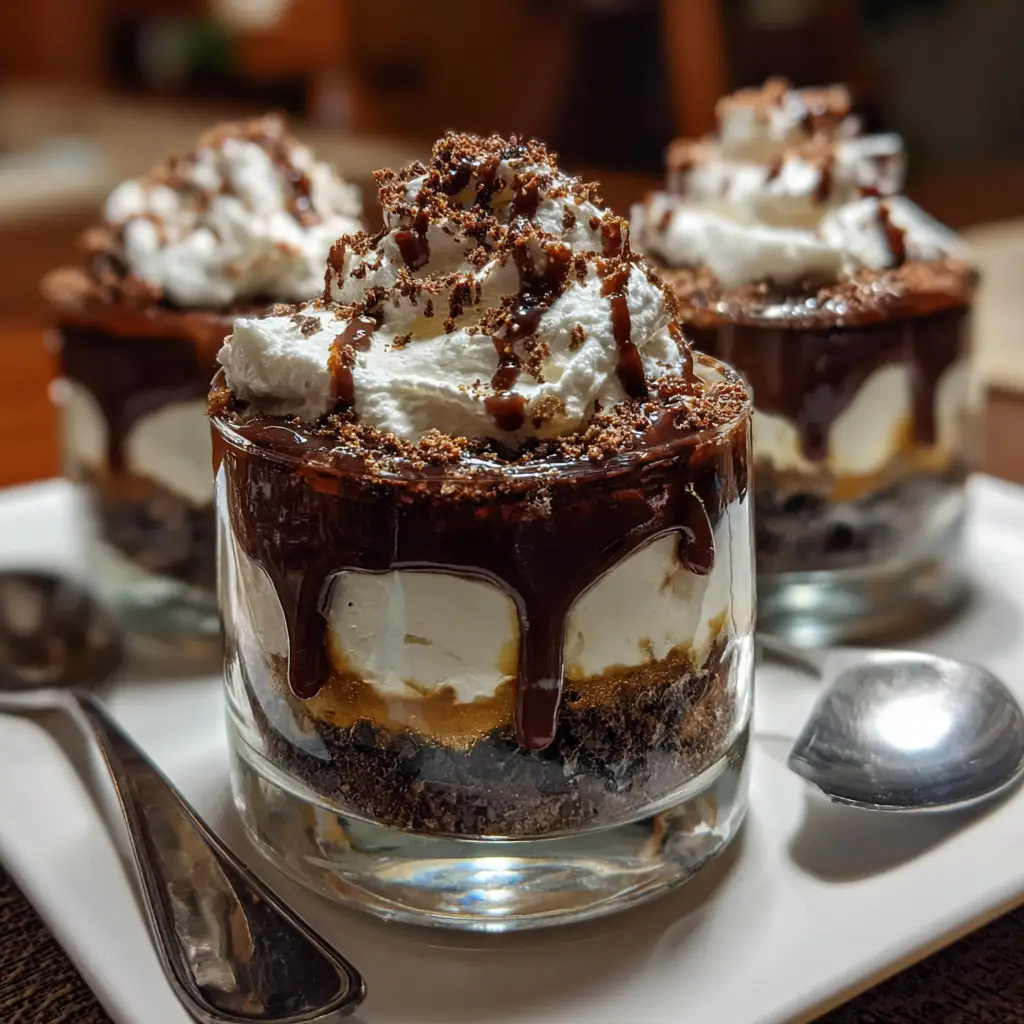
Step 3: Layer the Ingredients
Now comes the fun part—layering! Grab your plastic cups and start with a layer of chocolate pudding at the bottom. Then, sprinkle a generous layer of crushed cookies on top. Repeat this process until the cups are filled, finishing with a layer of cookie crumbs. Feel free to get creative with the layers! You can even add a little extra pudding on top for a more dramatic effect.
Step 4: Add the Gummy Worms
To give your Graveyard Dirt Cups that spooky flair, it’s time to add the gummy worms! Place a few worms on top of the cookie layer, letting them dangle over the sides for a creepy look. You can even bury some of them in the cookie crumbs for added effect. This is where you can really let your imagination run wild!
Step 5: Chill and Serve
Finally, it’s important to chill your cups before serving. Pop them in the refrigerator for at least 30 minutes. This allows the flavors to meld and the pudding to set perfectly. When you’re ready to serve, just pull them out and watch the smiles appear. These Graveyard Dirt Cups are sure to be a hit!
Tips for Success
- Use cold milk for a creamier pudding texture.
- Crush cookies in batches to avoid a mess.
- Let the pudding sit for a few minutes to thicken before layering.
- Experiment with different candies for a unique twist.
- Make these cups a day ahead for easy party prep!

Equipment Needed
- Mixing bowl: A medium-sized bowl works best for mixing the pudding.
- Whisk: Essential for blending the pudding mix and milk smoothly.
- Zip-top bags or food processor: For crushing the cookies easily.
- Plastic cups: Clear cups showcase the layers beautifully.
- Spoon: For layering and serving the dessert.
Variations of Graveyard Dirt Cups
- Dark Chocolate Pudding: Swap regular chocolate pudding for dark chocolate for a richer flavor.
- Gluten-Free Option: Use gluten-free chocolate sandwich cookies to make these cups suitable for everyone.
- Vegan Version: Substitute the milk with almond or coconut milk and use vegan chocolate pudding mix.
- Fruit Layer: Add a layer of mashed bananas or pureed pumpkin for a fruity twist.
- Nutty Crunch: Mix in crushed nuts or granola between the layers for added texture and flavor.
Serving Suggestions for Graveyard Dirt Cups
- Spooky Drinks: Pair with themed beverages like “witches’ brew” punch or spooky smoothies.
- Halloween Plates: Serve on festive plates adorned with ghosts or pumpkins for a fun touch.
- Garnish: Add edible glitter or candy eyes on top for an extra creepy effect.
- Side Treats: Include popcorn balls or caramel apples for a complete Halloween spread.
FAQs about Graveyard Dirt Cups
Can I make Graveyard Dirt Cups in advance?
Absolutely! These spooky treats can be made a day ahead. Just layer everything in the cups, cover them, and store them in the fridge. This makes them perfect for busy moms like us who want to save time!
What can I use instead of chocolate sandwich cookies?
If you’re looking for alternatives, you can use any chocolate cookie or even graham crackers for a different flavor. Just crush them up to create that ‘dirt’ effect!
How can I make these cups healthier?
To lighten them up, consider using sugar-free pudding mix and low-fat milk. You can also add a layer of fruit for some natural sweetness and nutrition!
Can I use different types of candy?
Definitely! While gummy worms are a classic, feel free to get creative. Use candy eyeballs, chocolate spiders, or even Halloween-themed sprinkles to add a unique twist!
How long do Graveyard Dirt Cups last in the fridge?
These delicious cups can last up to 3 days in the fridge. Just make sure they’re covered well to keep them fresh and tasty!
Final Thoughts
Creating Graveyard Dirt Cups is more than just whipping up a dessert; it’s about making memories with your loved ones. The laughter and excitement as you layer the pudding and cookies are priceless. These spooky treats bring a sense of joy and creativity to any Halloween gathering. Plus, they’re a fantastic way to involve your kids in the kitchen, sparking their imagination. So, whether you’re hosting a party or enjoying a cozy night in, these cups are sure to delight. Embrace the fun, and let your culinary creativity shine this Halloween!
Print
Graveyard Dirt Cups: A Spooktacular Treat Recipe!
- Total Time: 45 minutes (including chilling time)
- Yield: 4 servings 1x
- Diet: Vegetarian
Description
Graveyard Dirt Cups are a fun and spooky dessert perfect for Halloween parties, featuring layers of chocolate pudding, crushed cookies, and gummy worms.
Ingredients
- 1 package of chocolate pudding mix
- 2 cups of milk
- 1 package of chocolate sandwich cookies (like Oreos)
- Gummy worms
- Plastic cups for serving
Instructions
- Prepare the chocolate pudding according to the package instructions using the milk.
- Crush the chocolate sandwich cookies into fine crumbs.
- In plastic cups, layer the chocolate pudding and crushed cookies to create a ‘dirt’ effect.
- Top with gummy worms for a spooky touch.
- Chill in the refrigerator for at least 30 minutes before serving.
Notes
- For a more intense chocolate flavor, use dark chocolate pudding.
- Feel free to add other Halloween-themed candies for decoration.
- These can be made a day in advance for convenience.
- Prep Time: 15 minutes
- Cook Time: 0 minutes
- Category: Dessert
- Method: No-bake
- Cuisine: American
Nutrition
- Serving Size: 1 cup
- Calories: 250
- Sugar: 20g
- Sodium: 150mg
- Fat: 10g
- Saturated Fat: 5g
- Unsaturated Fat: 3g
- Trans Fat: 0g
- Carbohydrates: 35g
- Fiber: 2g
- Protein: 3g
- Cholesterol: 10mg