Introduction to Ezekiel Bread
As a busy mom, I know how challenging it can be to find nutritious options that the whole family will love. That’s where Ezekiel Bread comes in! This delightful bread, made from sprouted whole grains and legumes, is not only packed with health benefits but also incredibly easy to make. Imagine serving a warm, homemade loaf that’s both delicious and good for you. It’s the perfect solution for a quick breakfast or a satisfying sandwich. Trust me, once you try this recipe, you’ll want to keep it in your kitchen rotation!
Why You’ll Love This Ezekiel Bread
This Ezekiel Bread is a game-changer for busy families! It’s not only quick to whip up, but it also boasts a rich, nutty flavor that will have everyone asking for seconds. Plus, the health benefits are hard to beat. With sprouted grains and legumes, you’re serving up a powerhouse of nutrition. It’s a simple way to elevate your meals while keeping your loved ones happy and healthy!
Ingredients for Ezekiel Bread
Gathering the right ingredients is the first step to creating your delicious Ezekiel Bread. Here’s what you’ll need:
- Sprouted Wheat: This whole grain is the star of the show, providing essential nutrients and a hearty texture.
- Sprouted Barley: Adds a slightly sweet flavor and boosts the fiber content, making your bread even more filling.
- Sprouted Lentils: Packed with protein, these legumes enhance the nutritional profile and give the bread a lovely earthy taste.
- Sprouted Millet: A gluten-free grain that contributes a delightful crunch and a nutty flavor.
- Sprouted Spelt: This ancient grain is rich in vitamins and minerals, adding depth to the flavor and texture.
- Honey or Agave Syrup: A natural sweetener that balances the flavors. You can substitute with maple syrup for a vegan option.
- Olive Oil: This healthy fat keeps the bread moist and adds a subtle richness.
- Salt: Essential for enhancing the flavors and balancing the sweetness.
- Yeast: The magic ingredient that helps the bread rise, creating that fluffy texture we all love.
- Warm Water: Activates the yeast and brings everything together, creating a perfect dough.
For exact measurements, check the bottom of the article where you can find everything listed for easy printing. Happy baking!
How to Make Ezekiel Bread
Now that you have your ingredients ready, let’s dive into the fun part—making your own Ezekiel Bread! Follow these simple steps, and you’ll be on your way to enjoying a warm, nutritious loaf in no time.
Step 1: Combine the Sprouted Grains and Legumes
Start by taking a large bowl and adding all your sprouted grains and legumes. This is where the magic begins! Mix them together gently, ensuring they’re evenly distributed. The combination of textures and flavors will set the stage for your delicious bread.
Step 2: Prepare the Yeast Mixture
In a separate bowl, mix warm water, honey, and yeast. Stir it gently and let it sit for about 5 minutes. This step is crucial! It activates the yeast, allowing it to bubble and froth. This means your bread will rise beautifully, giving it that fluffy texture we all crave.
Step 3: Mix the Ingredients
Once your yeast mixture is frothy, pour it into the bowl with the sprouted grains. Mix everything together thoroughly. You want to ensure that the yeast is evenly distributed throughout the grains. This will help your bread rise uniformly, creating a lovely texture.
Step 4: Knead the Dough
Now it’s time to knead! Transfer the dough onto a floured surface and knead it for about 10 minutes. You’re looking for a smooth, elastic texture. If the dough feels too sticky, sprinkle a little more flour. This step is essential for developing gluten, which gives the bread its structure.
Step 5: Let the Dough Rise
Place your kneaded dough in a greased bowl, cover it with a clean cloth, and let it rise for about 1 hour. This is where the dough works its magic! The yeast will ferment, creating air pockets that make your bread light and fluffy. Keep it in a warm spot for the best results.
Step 6: Preheat the Oven
While your dough is rising, preheat your oven to 350°F (175°C). Preheating is important because it ensures that your bread starts baking at the right temperature, helping it rise properly and develop that golden crust we all love.
Step 7: Shape the Loaf
After the dough has risen, punch it down gently to release the air. Then, shape it into a loaf. Don’t worry about perfection; just make sure it’s compact. Place the shaped loaf into a greased bread pan, ready for its second rise.
Step 8: Second Rise
Cover the loaf again and let it rise for another 30 minutes. This second rise is crucial for achieving that perfect texture. It allows the dough to expand further, ensuring your bread is light and airy.
Step 9: Bake the Bread
Once the second rise is complete, pop the loaf into your preheated oven. Bake for 30-35 minutes, or until it’s golden brown. To check for doneness, tap the bottom of the loaf; it should sound hollow. This is the moment you’ve been waiting for!
Step 10: Cool and Slice
After baking, let the bread cool in the pan for about 10 minutes. Then, transfer it to a wire rack to cool completely. This step is vital! Slicing too soon can lead to a gummy texture. Once it’s cool, slice it up and enjoy the fruits of your labor!
Tips for Success
- Use fresh sprouted grains for the best flavor and nutrition.
- Make sure your water is warm, not hot, to avoid killing the yeast.
- Don’t rush the rising process; patience is key for fluffy bread.
- Experiment with different sprouted grains for unique flavors.
- Store leftover bread in an airtight container to keep it fresh.
Equipment Needed
- Large Mixing Bowl: A sturdy bowl for combining ingredients. A glass or ceramic bowl works well.
- Measuring Cups: Essential for accurate ingredient measurements. You can use a kitchen scale for precision.
- Wooden Spoon: Perfect for mixing. A spatula can also do the job.
- Floured Surface: For kneading the dough. A clean countertop or cutting board is ideal.
- Greased Bread Pan: To shape your loaf. Any loaf pan will work, even a cake pan in a pinch.
Variations of Ezekiel Bread
- Herb-Infused: Add dried herbs like rosemary or thyme to the dough for a fragrant twist.
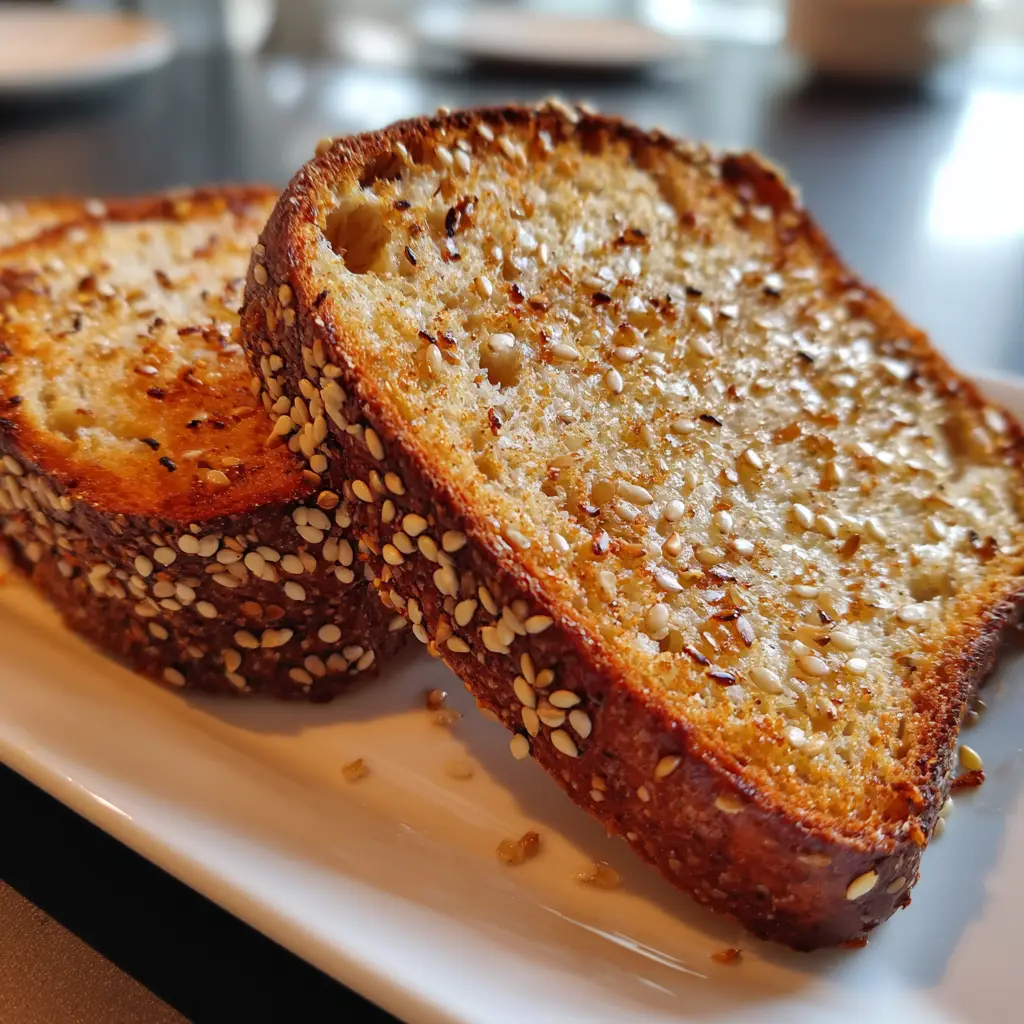
- Seed Topping: Sprinkle sesame or sunflower seeds on top before baking for added crunch and nutrition.
- Nutty Delight: Incorporate chopped walnuts or almonds into the dough for a delightful texture and flavor.
- Spicy Kick: Mix in a pinch of cayenne pepper or chili flakes for a subtle heat that pairs well with savory dishes.
- Sweet Cinnamon: Add a teaspoon of cinnamon and a handful of raisins for a sweet breakfast option.
Serving Suggestions for Ezekiel Bread
- Enjoy it toasted with a spread of almond butter and banana slices for a nutritious breakfast.
- Pair with a hearty vegetable soup for a comforting lunch.
- Use it as a base for open-faced sandwiches topped with avocado and cherry tomatoes.
- Serve alongside a fresh salad drizzled with olive oil and balsamic vinegar.
- For a delightful snack, try it with hummus and fresh veggies.
FAQs about Ezekiel Bread
What is Ezekiel Bread?
Ezekiel Bread is a nutritious bread made from sprouted whole grains and legumes. This unique combination enhances its flavor and boosts its health benefits, making it a fantastic choice for anyone looking to eat healthier.
Is Ezekiel Bread gluten-free?
No, Ezekiel Bread is not gluten-free. It contains sprouted wheat and spelt, which both have gluten. However, you can experiment with gluten-free sprouted grains if you need a gluten-free option.
How long does Ezekiel Bread last?
When stored in an airtight container, Ezekiel Bread can last up to a week at room temperature. For longer shelf life, consider freezing it. Just slice it first, so you can grab a piece whenever you need!
Can I use regular flour instead of sprouted grains?
While you can use regular flour, you’ll miss out on the unique flavor and health benefits of sprouted grains. If you’re looking for a healthier option, stick with the sprouted grains for the best results.
What are the health benefits of Ezekiel Bread?
Ezekiel Bread is rich in protein, fiber, and essential nutrients. The sprouting process increases the bioavailability of vitamins and minerals, making it easier for your body to absorb them. It’s a wholesome choice for anyone looking to boost their nutrition!
Final Thoughts
Making Ezekiel Bread has been a delightful journey for me, and I hope it becomes one for you too! The joy of kneading the dough, watching it rise, and finally slicing into a warm loaf is truly rewarding. Not only do you get to enjoy a delicious, nutritious bread, but you also create something wholesome for your family. It’s a simple way to nourish your loved ones while embracing the art of baking. So, roll up your sleeves, gather your ingredients, and let the aroma of fresh bread fill your home. You won’t regret it!
Print
Ezekiel Bread: Discover the Health Benefits Today!
- Total Time: 1 hour 50 minutes
- Yield: 1 loaf 1x
- Diet: Vegan
Description
Ezekiel Bread is a nutritious bread made from sprouted whole grains and legumes, offering numerous health benefits.
Ingredients
- 1 cup of sprouted wheat
- 1/2 cup of sprouted barley
- 1/2 cup of sprouted lentils
- 1/4 cup of sprouted millet
- 1/4 cup of sprouted spelt
- 1/4 cup of honey or agave syrup
- 1/4 cup of olive oil
- 1 teaspoon of salt
- 1 tablespoon of yeast
- 2 cups of warm water
Instructions
- In a large bowl, combine the sprouted grains and legumes.
- In a separate bowl, mix warm water, honey, and yeast; let it sit for 5 minutes.
- Add the yeast mixture to the grains and mix well.
- Stir in olive oil and salt, then knead the dough for about 10 minutes.
- Place the dough in a greased bowl, cover, and let it rise for 1 hour.
- Preheat the oven to 350°F (175°C).
- Punch down the dough and shape it into a loaf.
- Place the loaf in a greased bread pan and let it rise for another 30 minutes.
- Bake for 30-35 minutes or until golden brown.
- Let it cool before slicing.
Notes
- Store in an airtight container to maintain freshness.
- Can be frozen for longer shelf life.
- Great for sandwiches or toast.
- Prep Time: 15 minutes
- Cook Time: 35 minutes
- Category: Bread
- Method: Baking
- Cuisine: Healthy
Nutrition
- Serving Size: 1 slice
- Calories: 80
- Sugar: 1g
- Sodium: 150mg
- Fat: 2g
- Saturated Fat: 0g
- Unsaturated Fat: 1g
- Trans Fat: 0g
- Carbohydrates: 15g
- Fiber: 3g
- Protein: 4g
- Cholesterol: 0mg